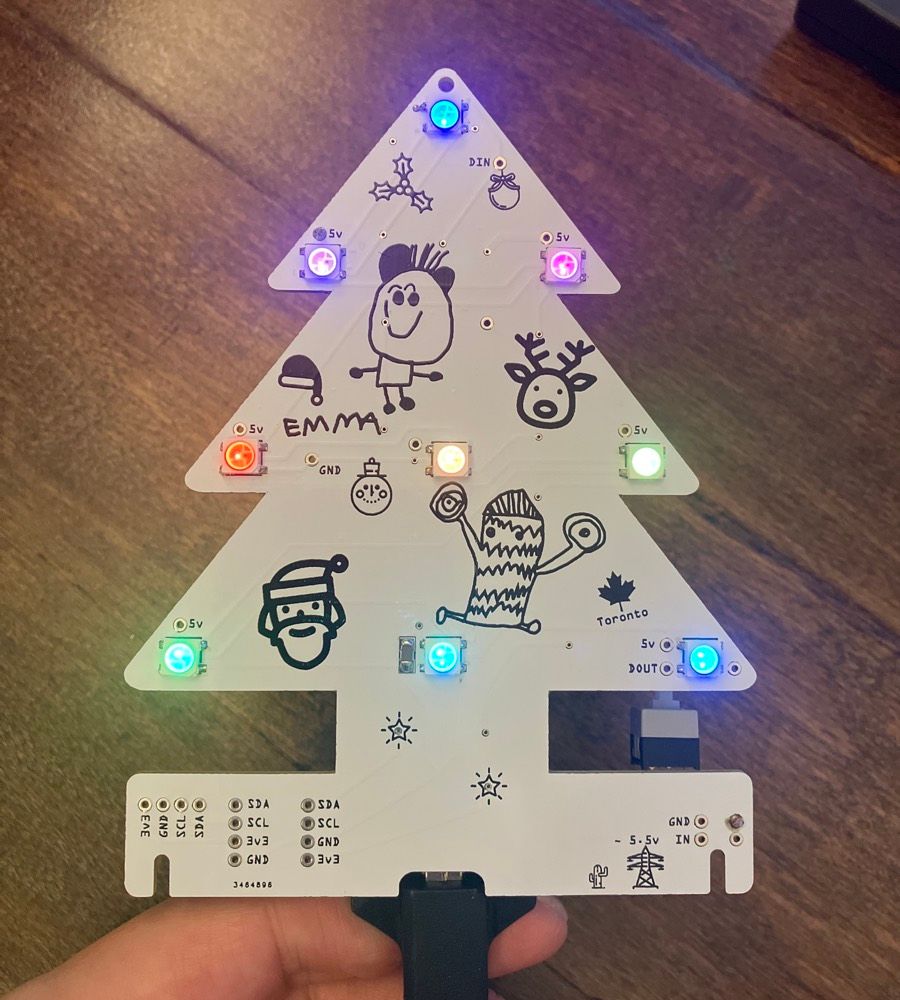
Magical Instruction
Magical PCB build and light up instruction.


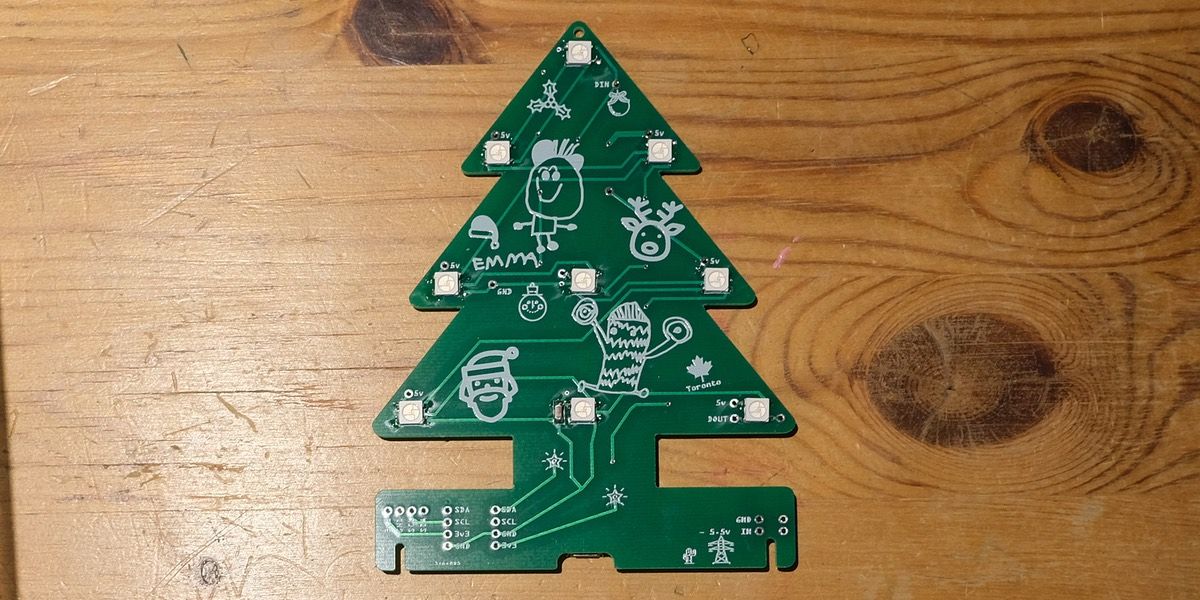
Build your Magical board
Prepare for the build
Before assembling the tree, please make sure you are good to go!
- Soldering iron
- Solder wire - with rosin or use Flux
- Micro USB cable to connect with your computer
- Tweezer - to grab small parts. It's really tiny.
parts list
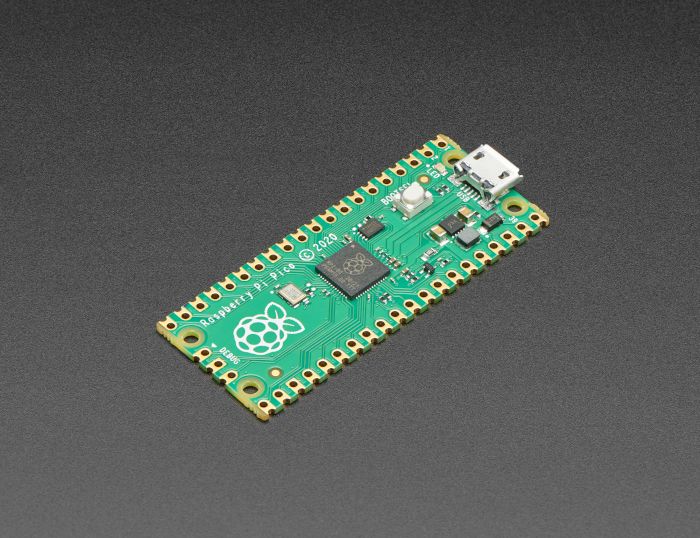
- Raspberry Pi Pico x 1
- WS2812B x 9
- 100nF capacitor x 9
If you are new to soldering, watch this video first, This video explain what should be done for SMD parts.
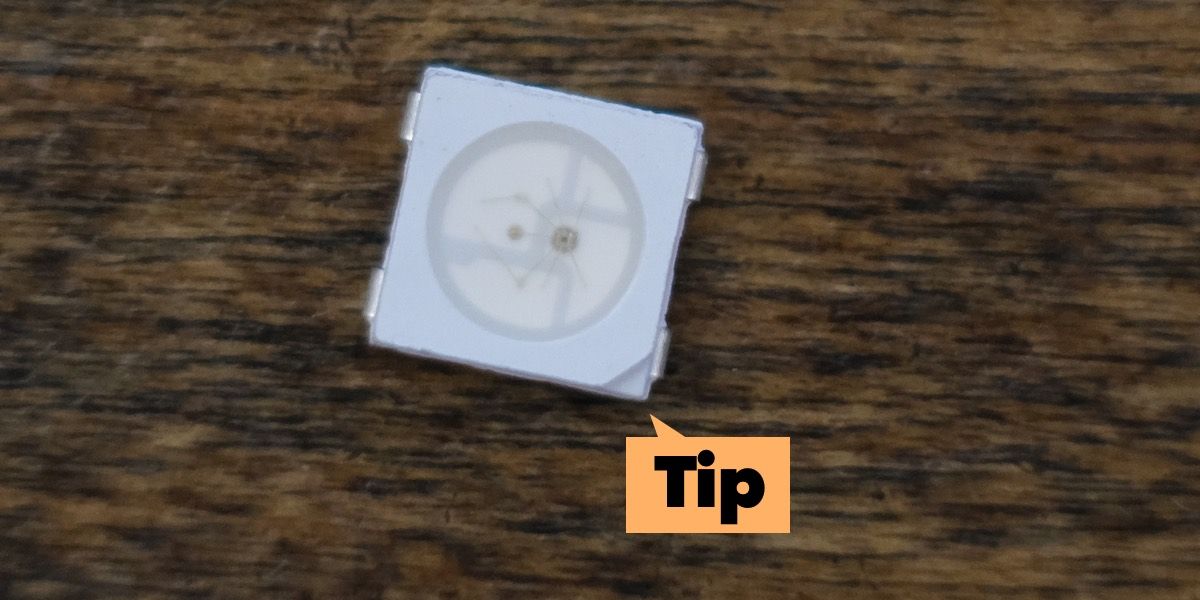
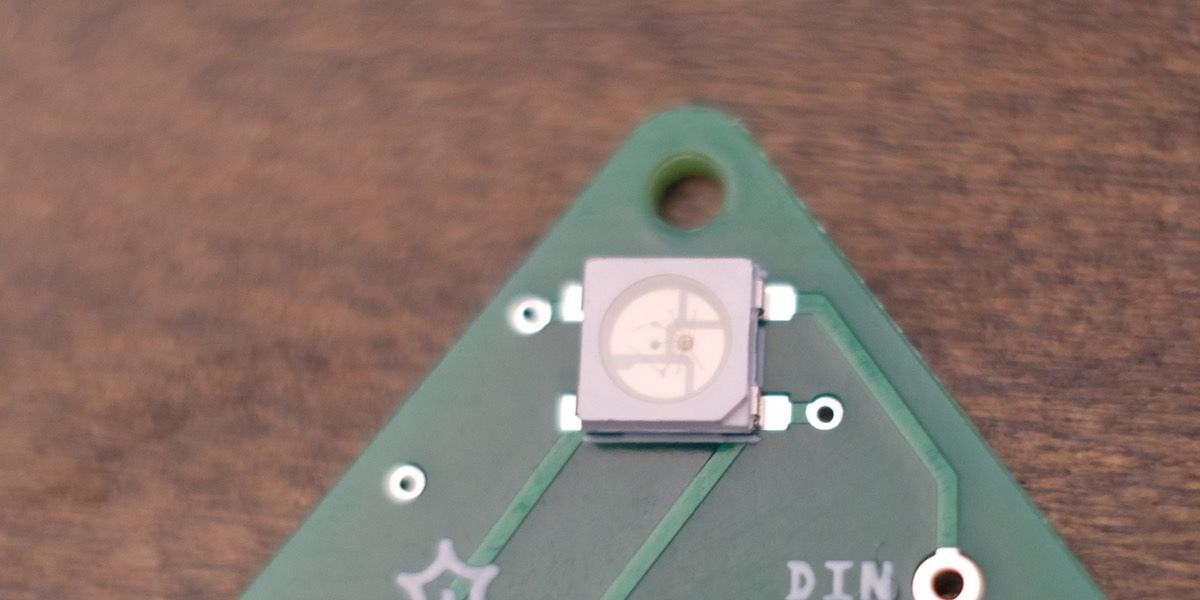
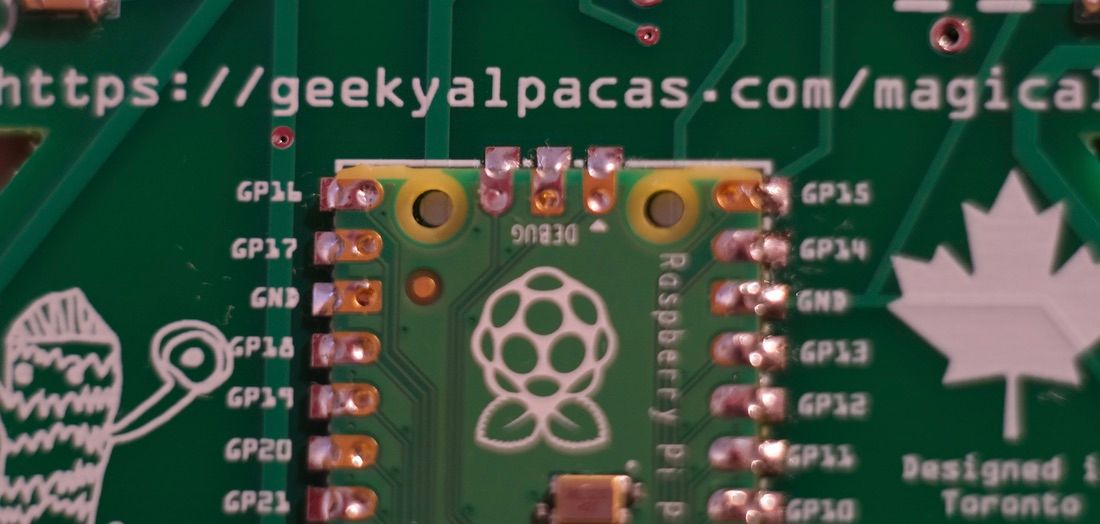
Attach all WS2812B Full colour LEDs on the front side of the PCB. please note WS2812B has a tip at one corner.
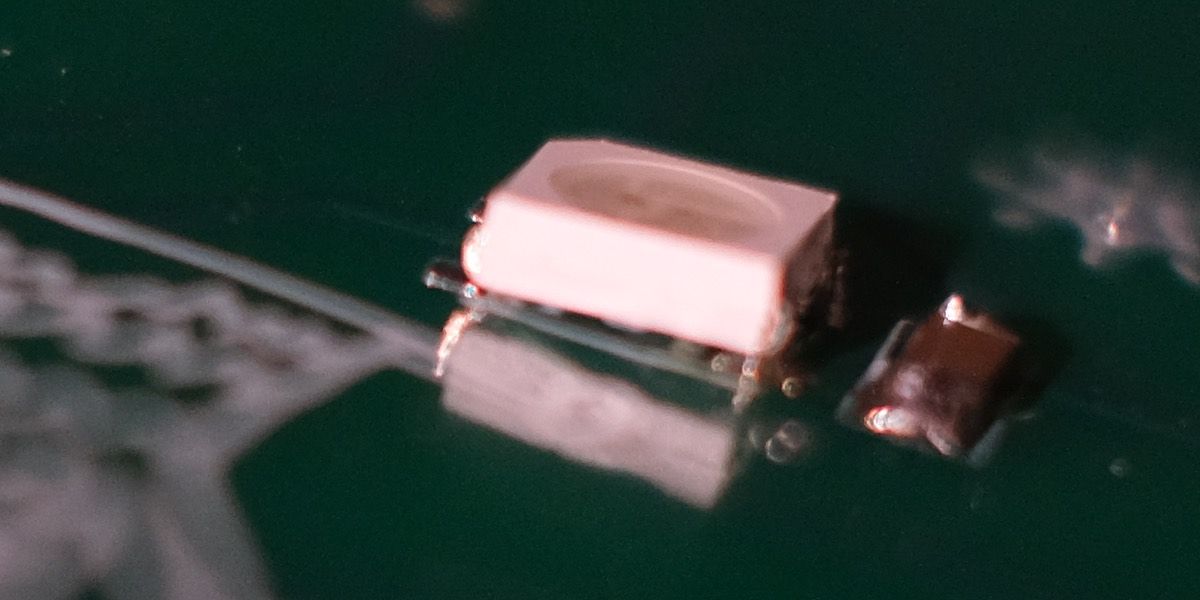
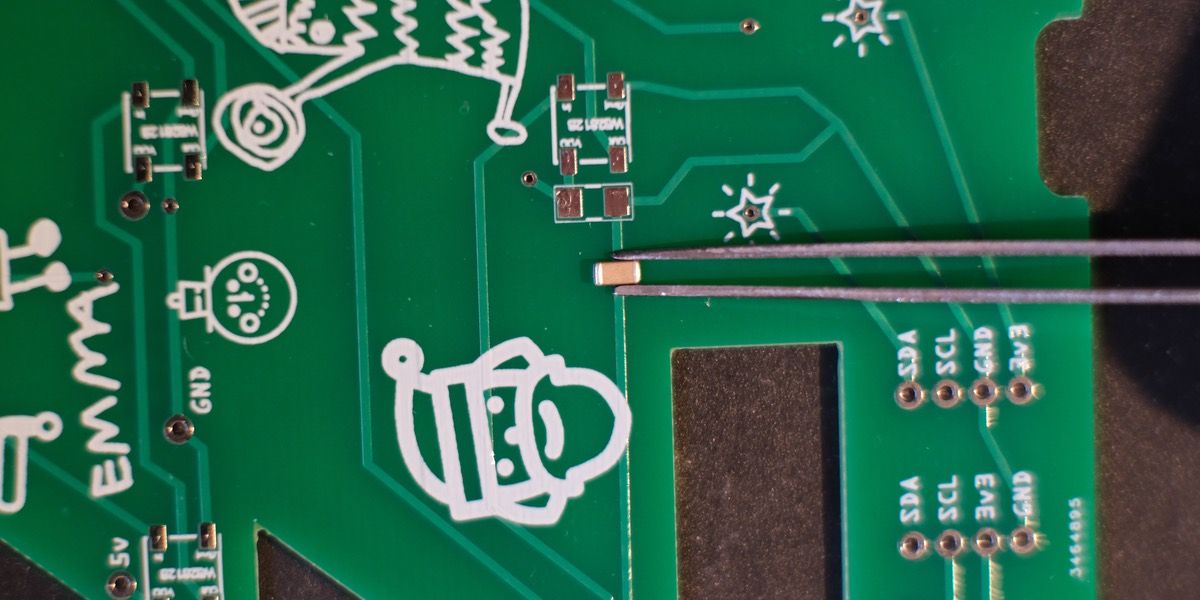
Before flipping the PCB, attach a capacitor. Only 1 capacitor is on the front side. Rest of capacitors need to be attached on the back side.
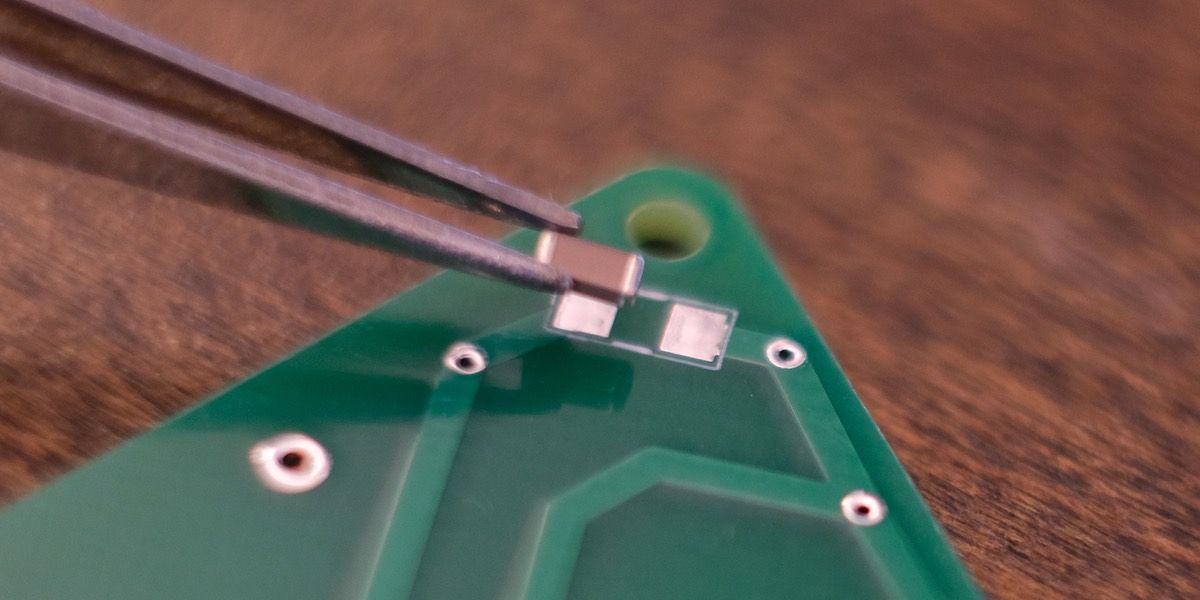
Flip the tree and attach rest of capacitors.
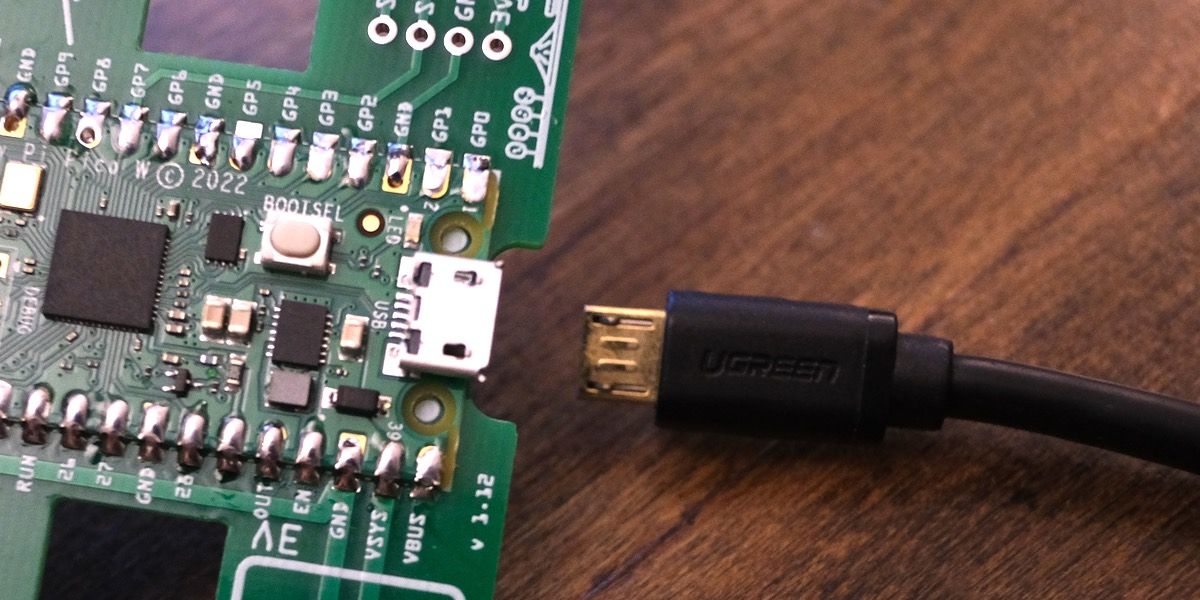
Attach Raspberry Pi Pico
Okay, This is the last big part. attach the Raspberry Pi Pico at the back. We designed it works for both Pico and Pico W, so if you wish to control this board wirelessly, use Pico W instead of the Raspberry Pi Pico.
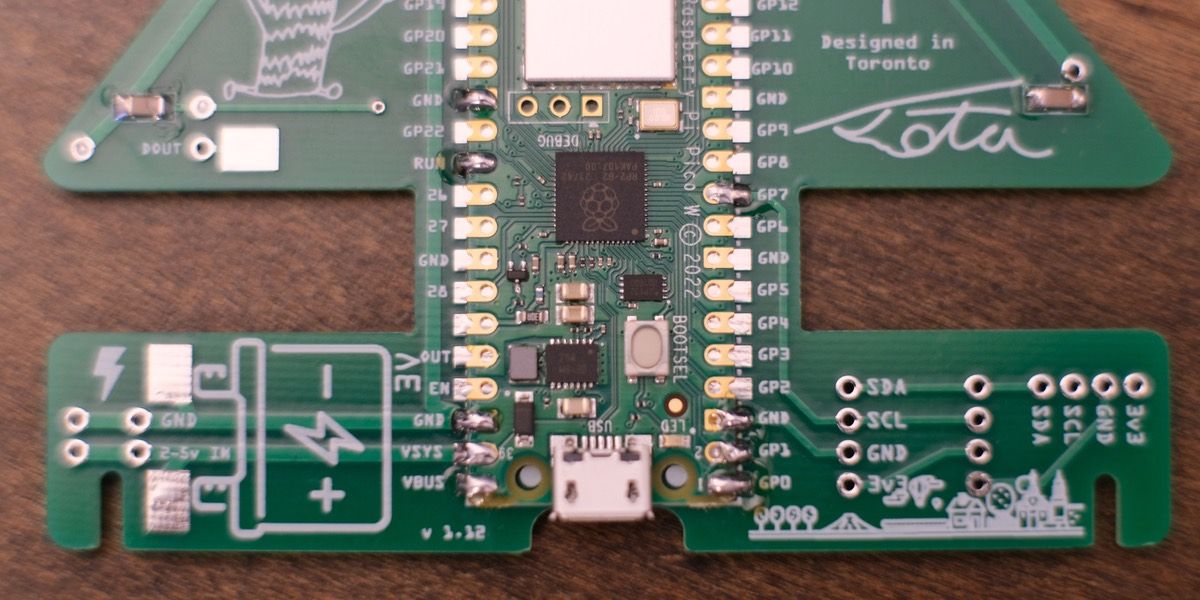
Solder all pads?
Yes. Technically some GND pins, 5v and GP1 are necessary to work. However it make physically secure for USB cable plug-in and out.
Let's get it work
Connect USB cable to Raspberry Pi Pico
Connect your computer to Raspberry Pi Pico.
When it connected, you will see the icon on the Desktop (if you are using macOS/Windows/Raspberry Pi OS).

Setup CircuitPython for Raspberry Pi Pico
Download CircuitPython firmware. As of today (November 20, 200), the latest stable version is 7.3.3
Download it from here

Click on the "DOWNLOAD .UF2 NOW" button.
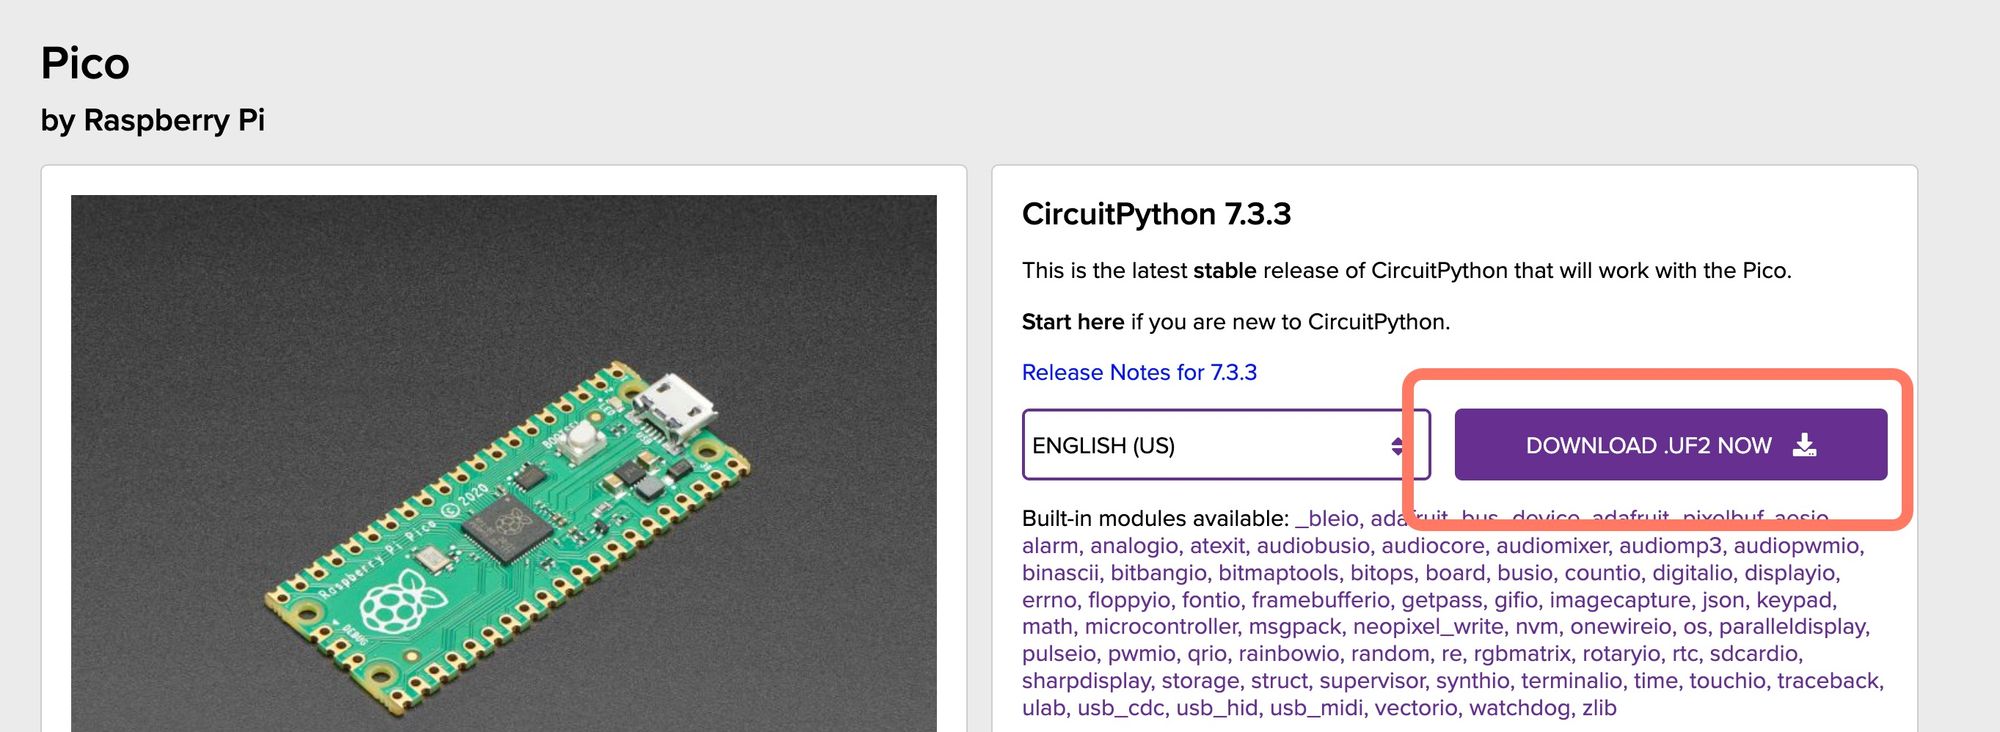
Once you downloaded, drag and drop the file to RPI-RP2. It may take 20~30 seconds.

🍎Are you using macOS 13 Ventura?
macOS 13 Venture is not support well with Raspberry Pi Pico. When you connect Raspberry Pi Pico to your computer, mass storage device will show up, however, you cannot directly drag and drop the UF2 file (It will be failed with error code 100093)
But there is a good news, you can copy the file with terminal, so open up the terminal and copy the UF2 file to Raspberry Pi Pico. (Usually pico is mounted as /Volumes/RPI-RP2/)
e.g. copy command
cp adafruit-circuitpython-raspberry_pi_pico-en_US-7.3.3.uf2 /Volumes/RPI-RP2/
If you don't know what to do, ask me at @kotaMorishita
Set up the tree
Download Development Tool

Download and install Thonny to your computer.
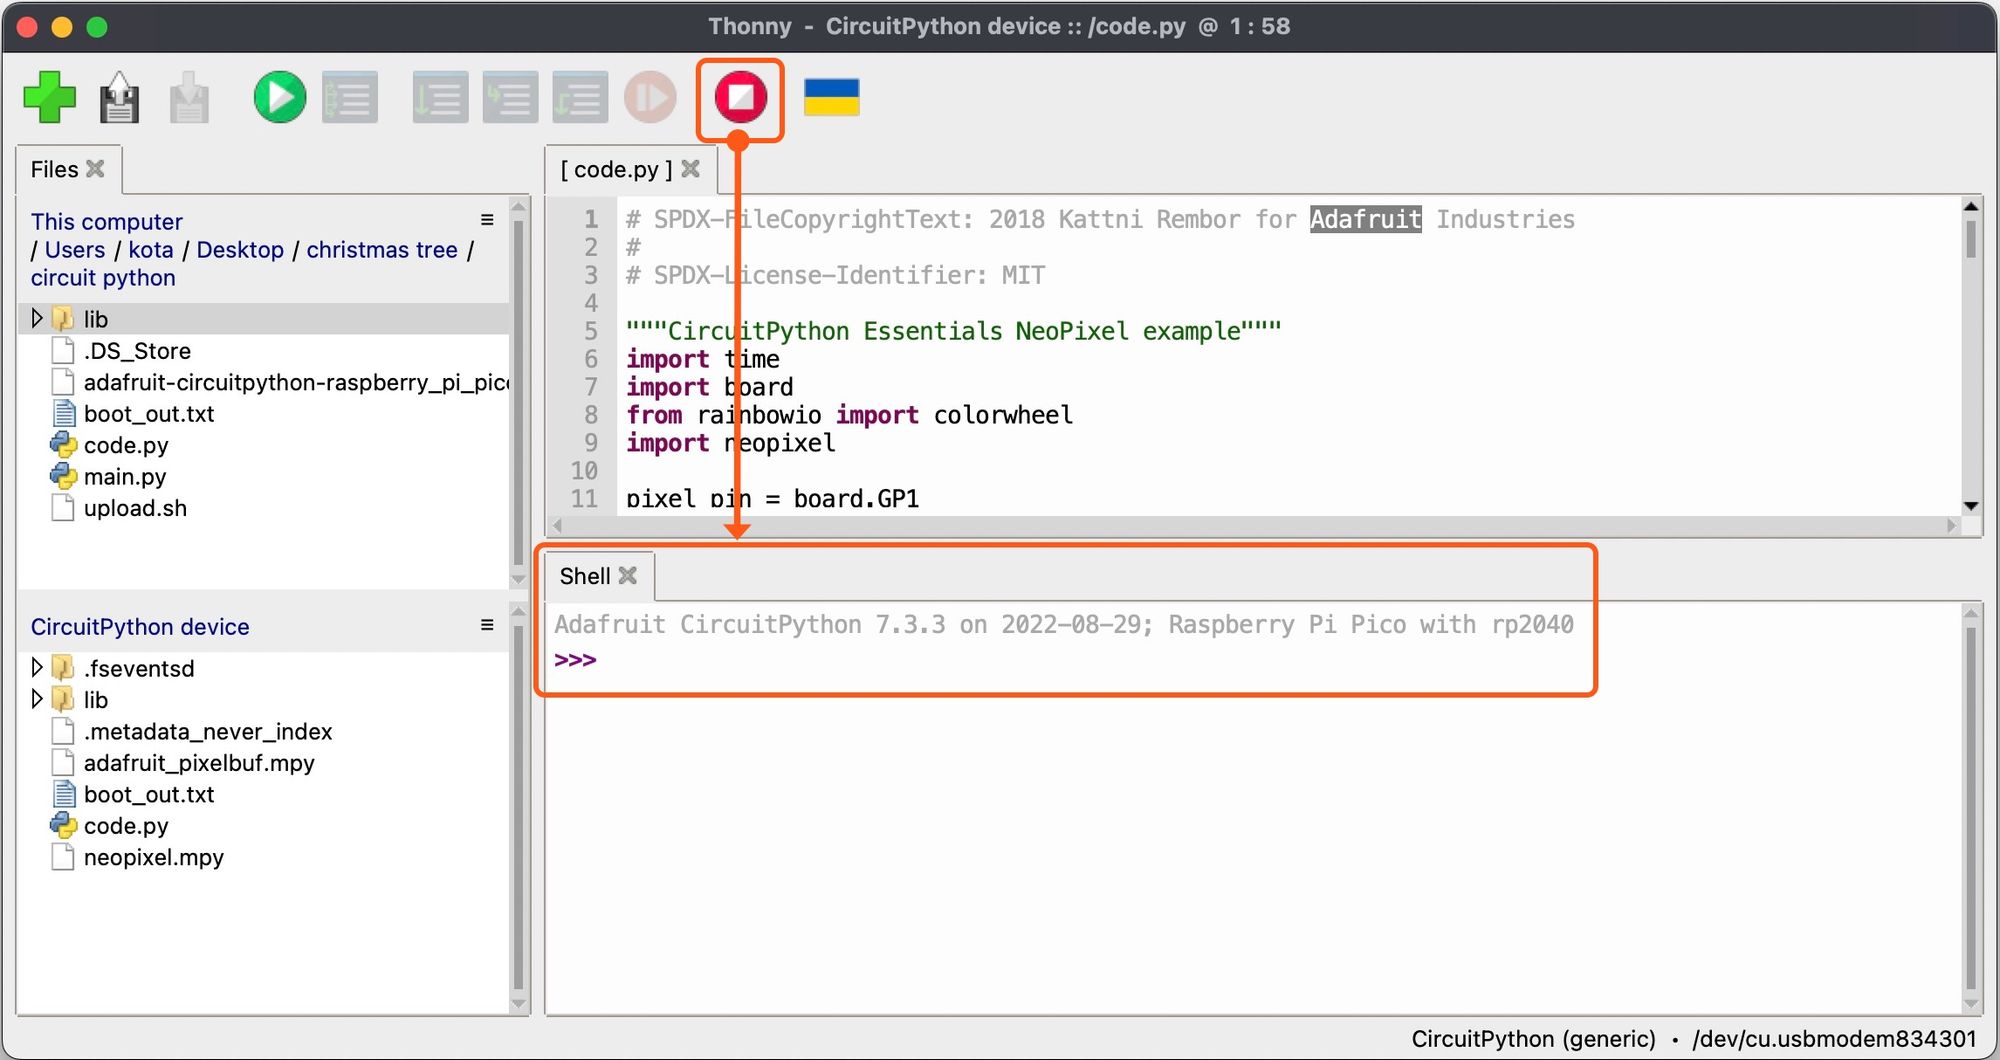
Press the red button.
When you press the red button (with white square at the center), "Shell" will be refreshed. also If something is not working, hit the red button anytime!
After you hit the button, CircuitPython version will show up in "Shell" tab.
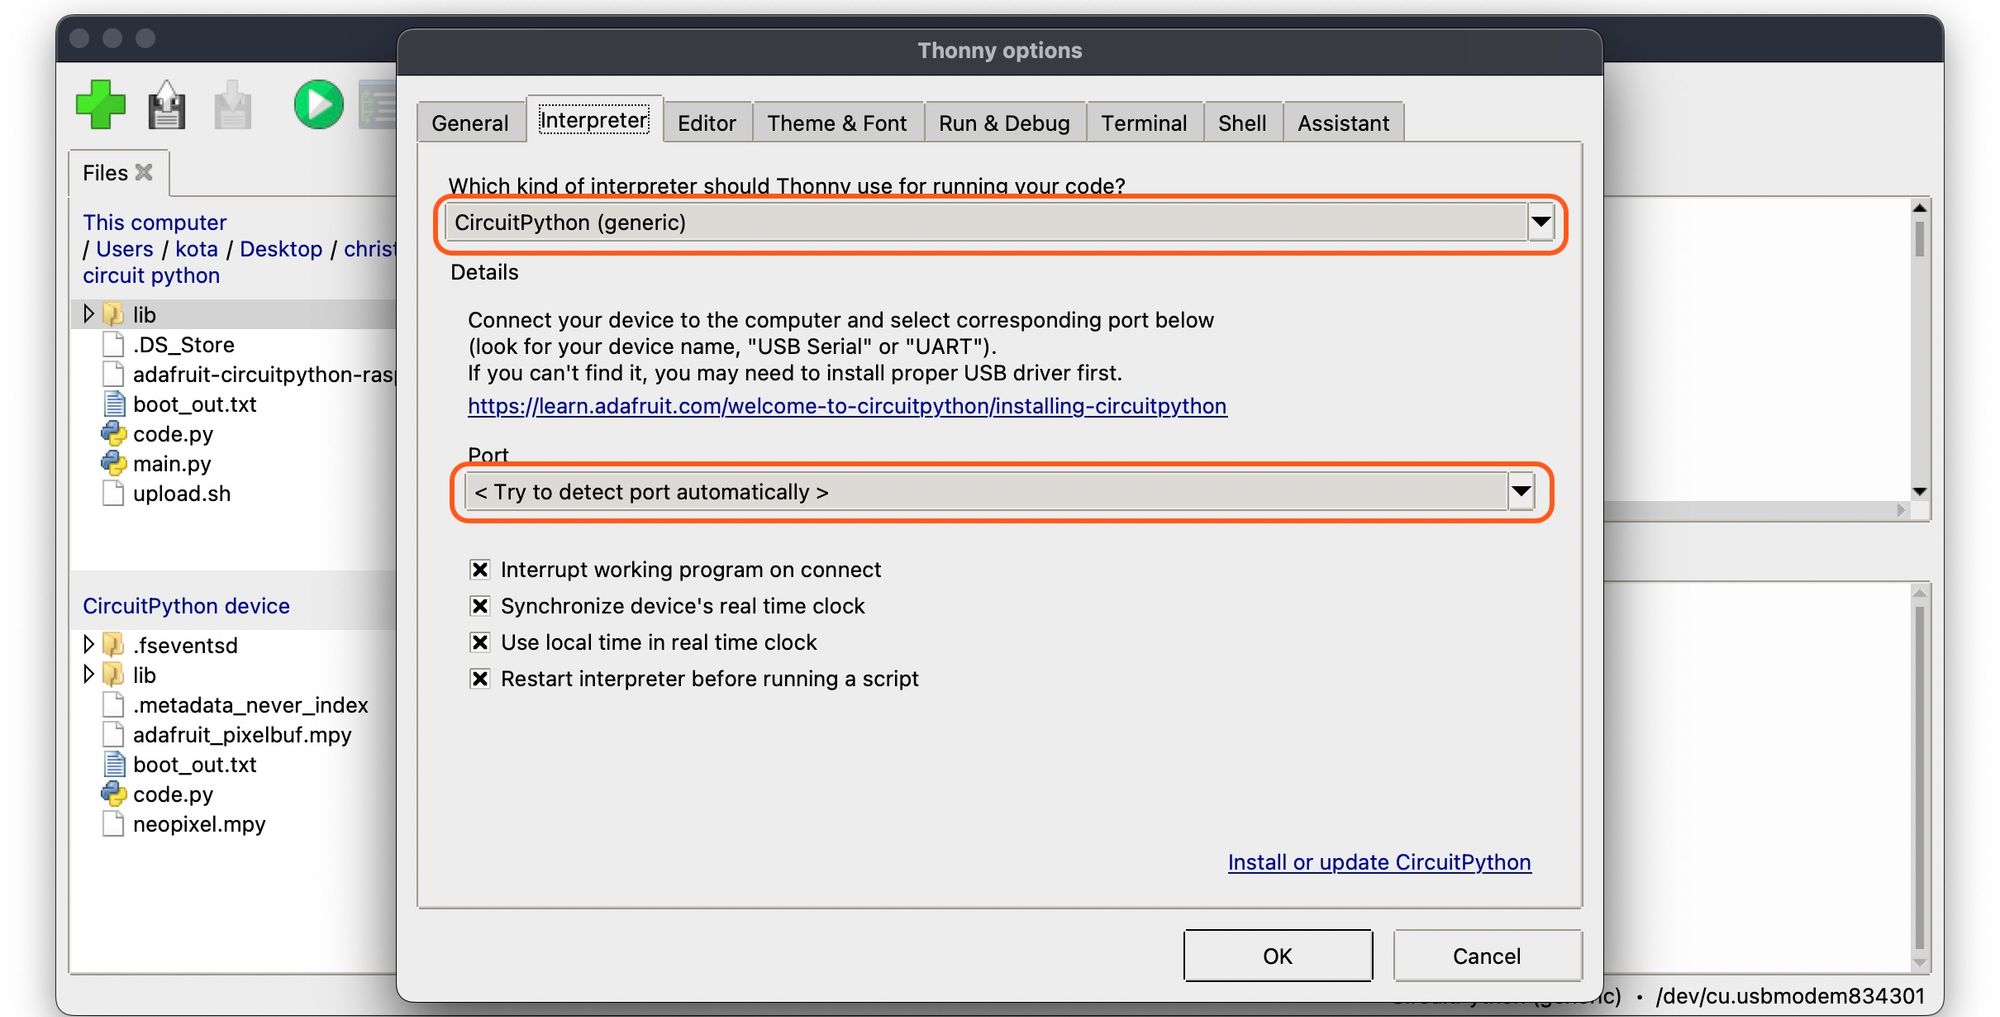
If nothing happens, Go to Thonny -> Preferences -> "Interpreter" tab to ensure CircuitPython is selected, also Port is <Try to detect port automatically>
Then press "ok" to close the preference menu.
Still not working?
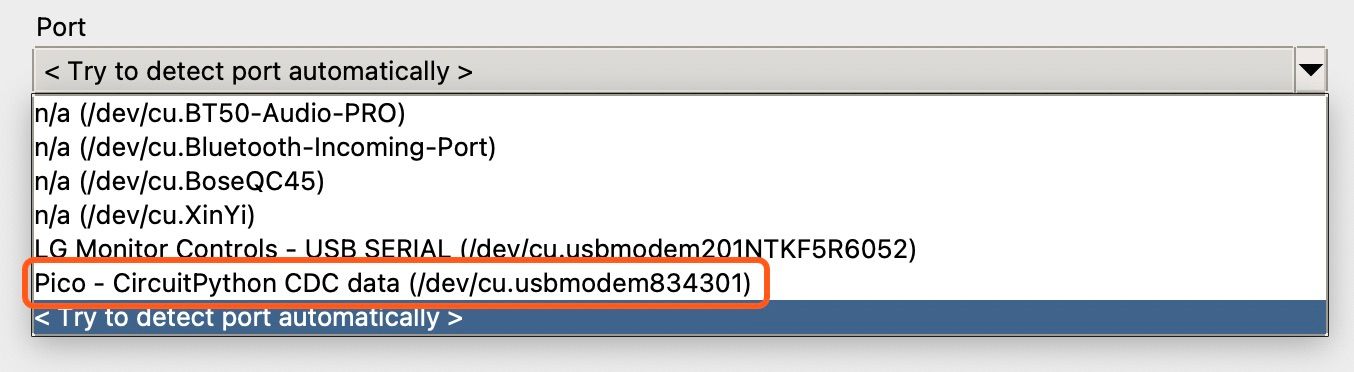
Automatic setting should work most of cases, but if it doesn't work with your setup, select the Pico - CircuitPython
Download the sample code
Adafruit Industries is a great company. they make CircuitPython and provide sample codes as well.
For your convenience, I collect modules and sample code under this repo.(Thanks Adafruit to release these code under MIT license)
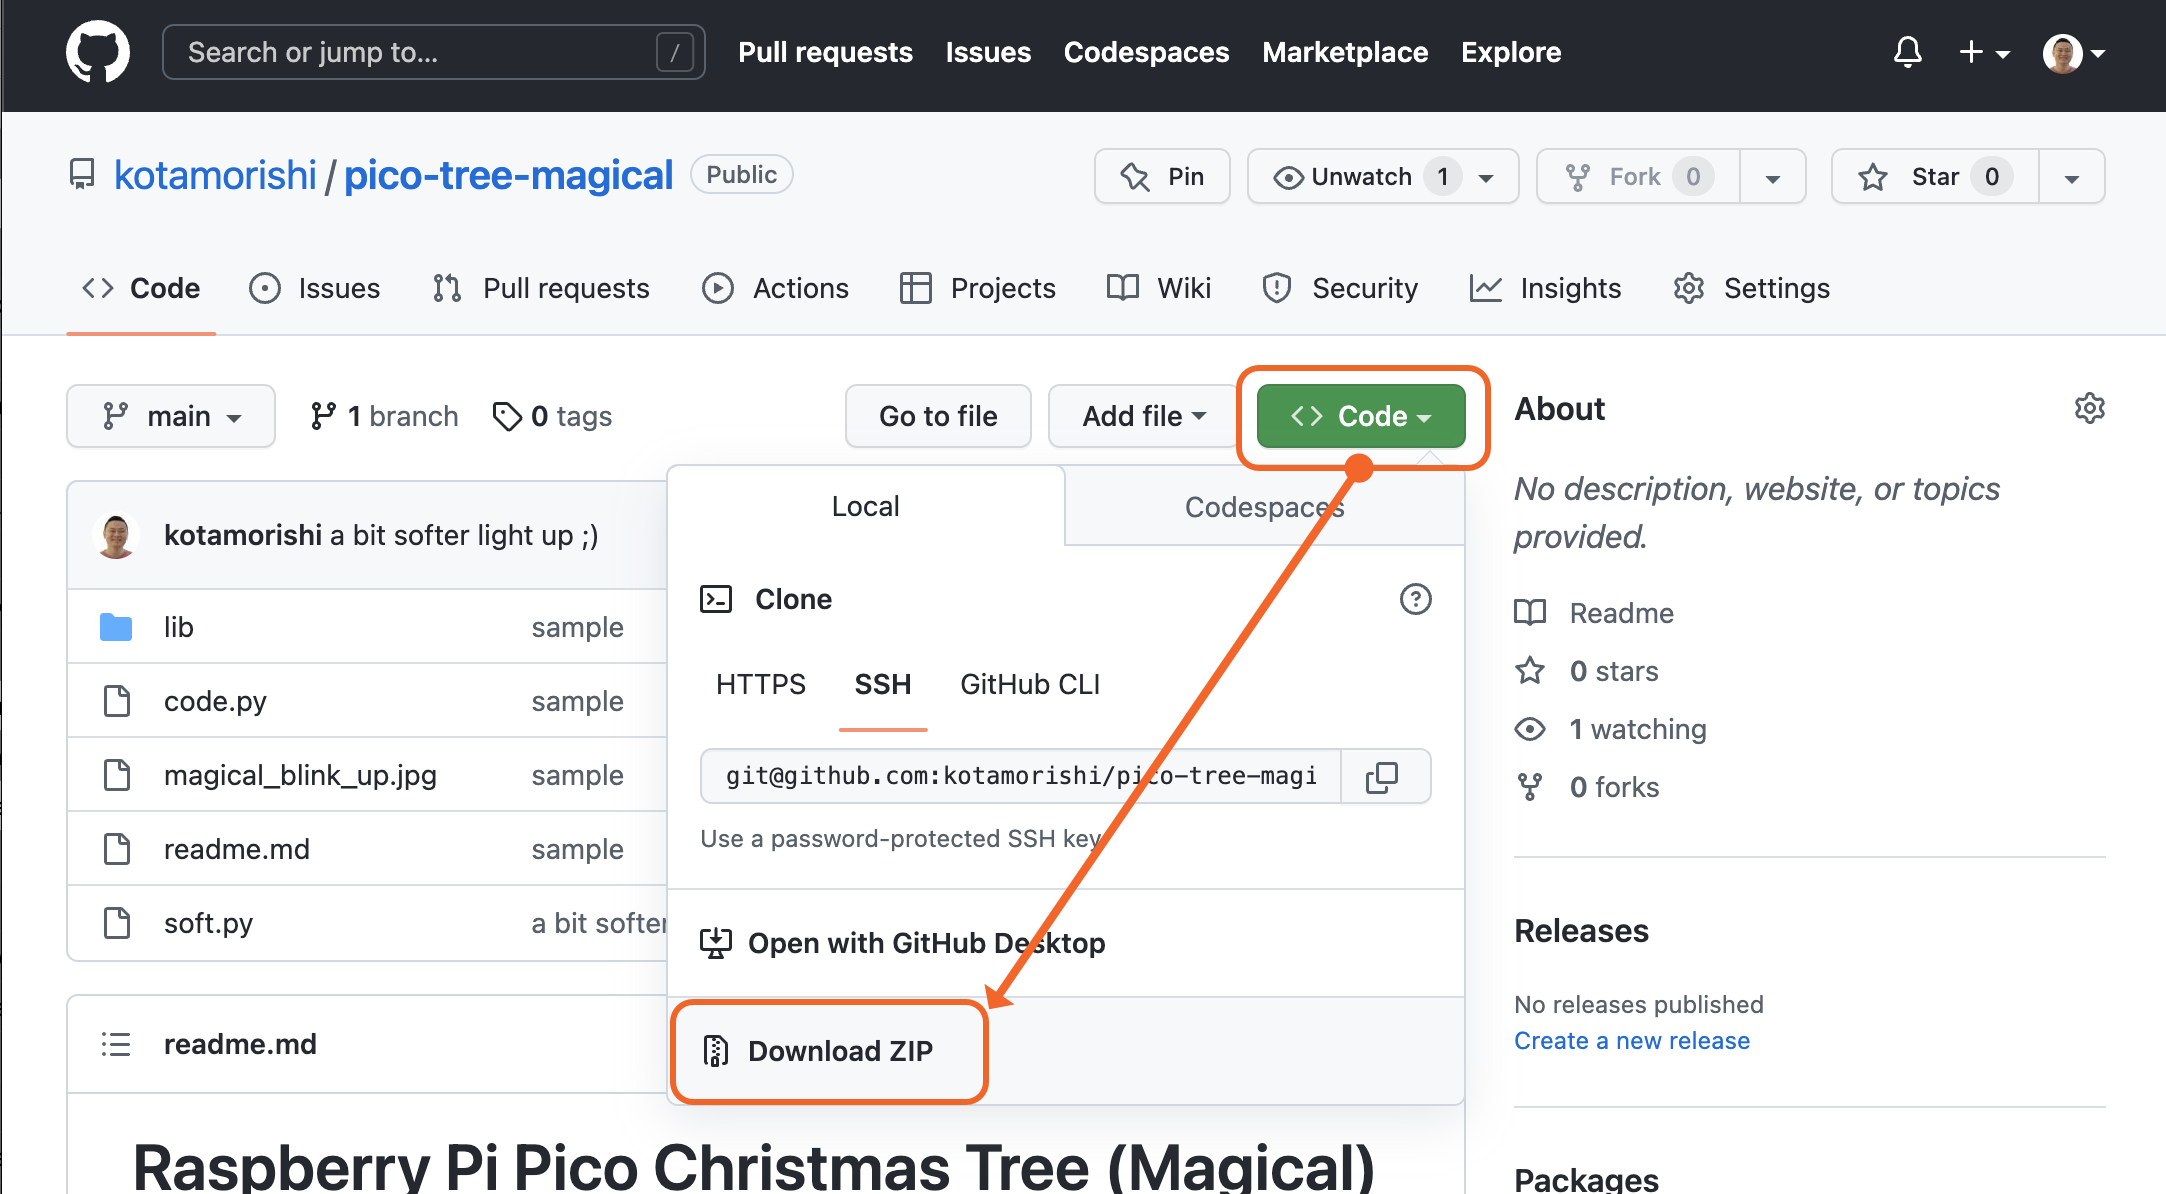
 kotamorishi
Open up the link and click on "Code" then "Download ZIP".
Unzip the file.
Unzip downloaded file, folder name is "pico-tree-magical".
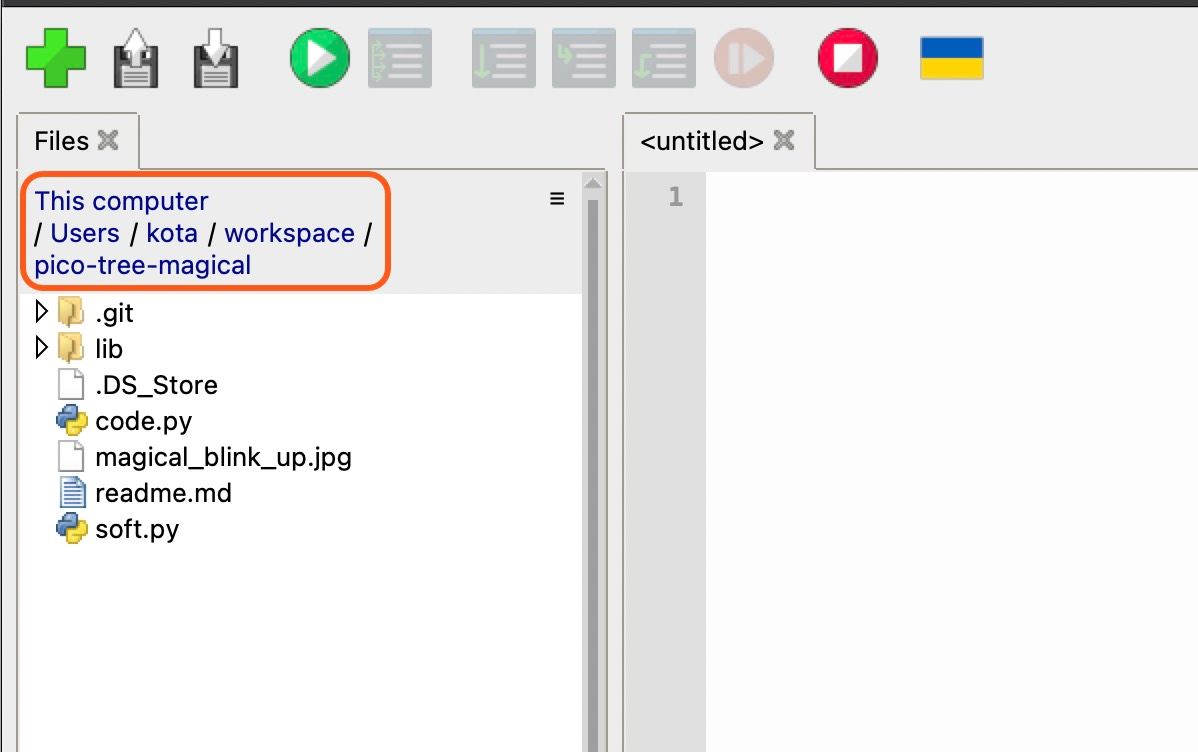
Open the Thonny, select just unzipped folder at "Files" tab.
Upload the sample code.
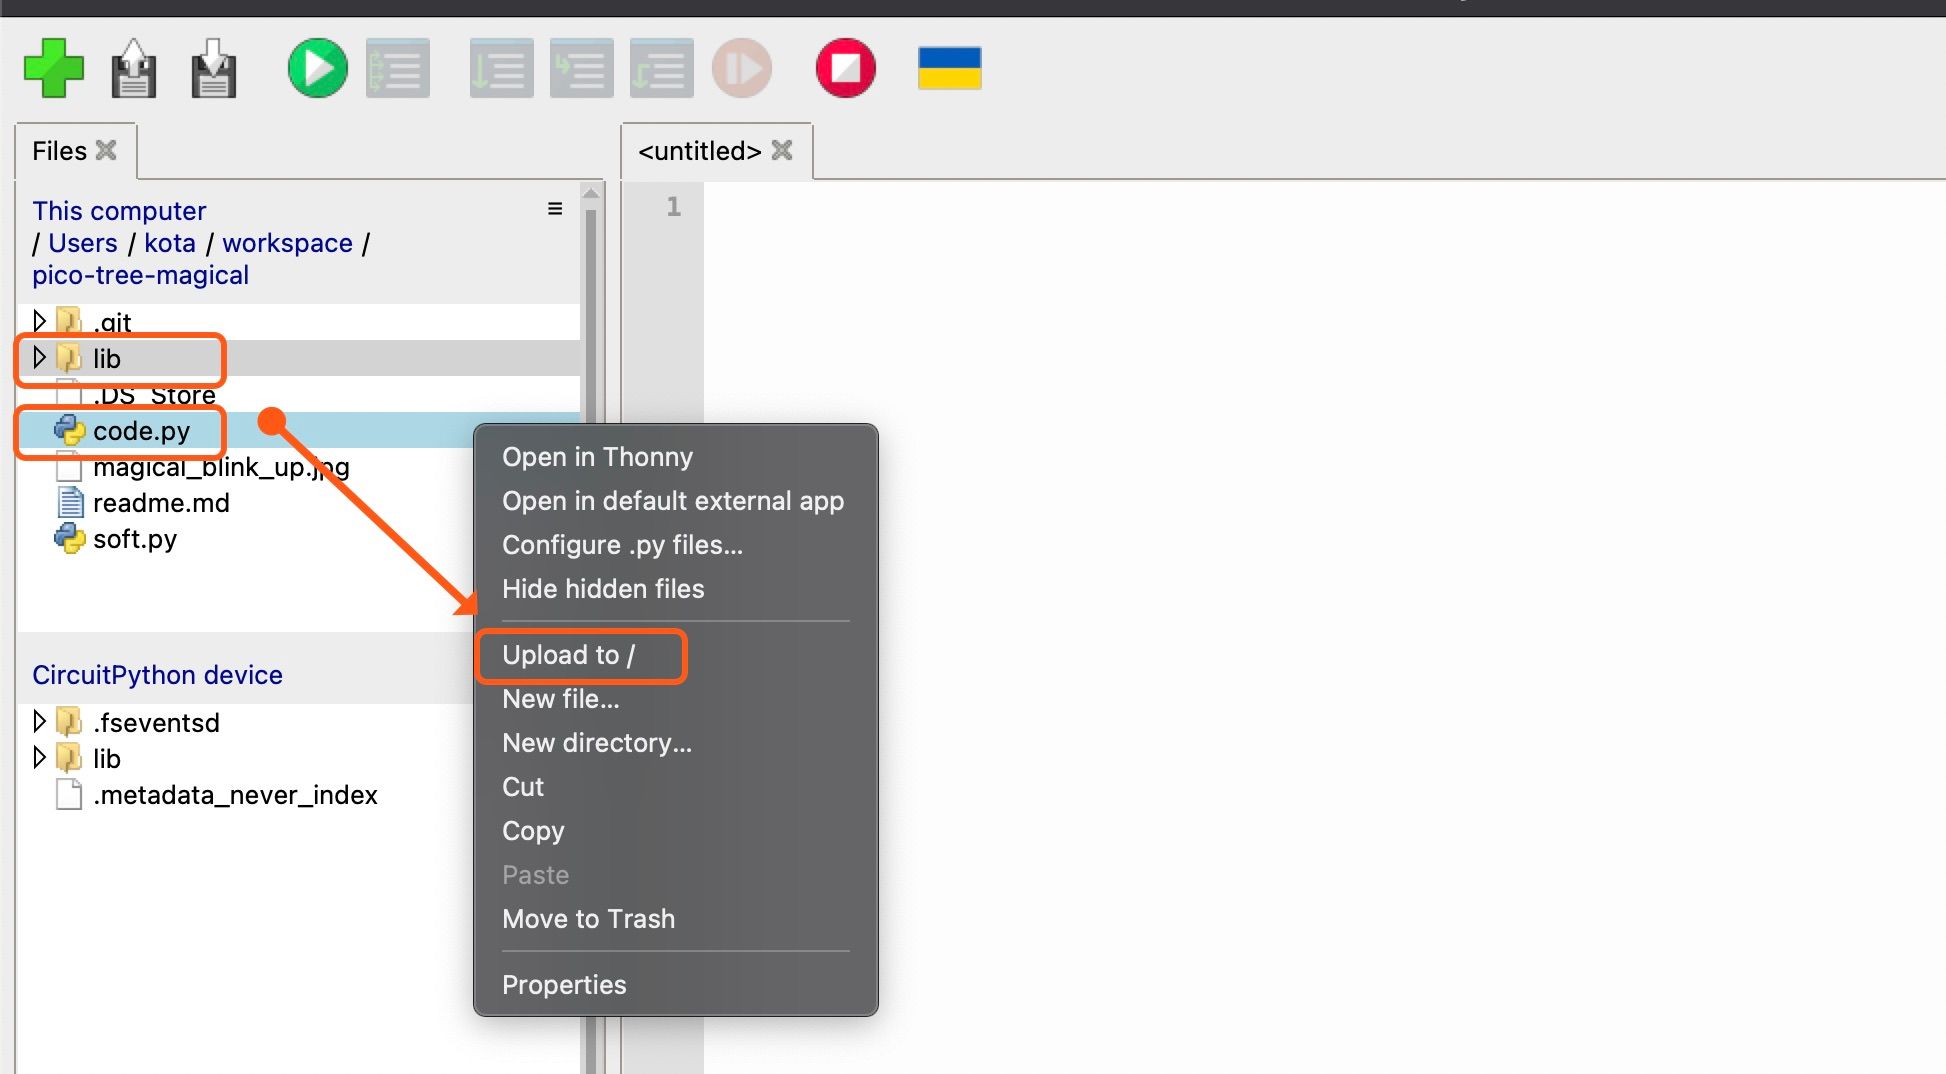
Select "lib" and "code.py" and right click to open the menu, then click "Upload to /"
Light up the tree
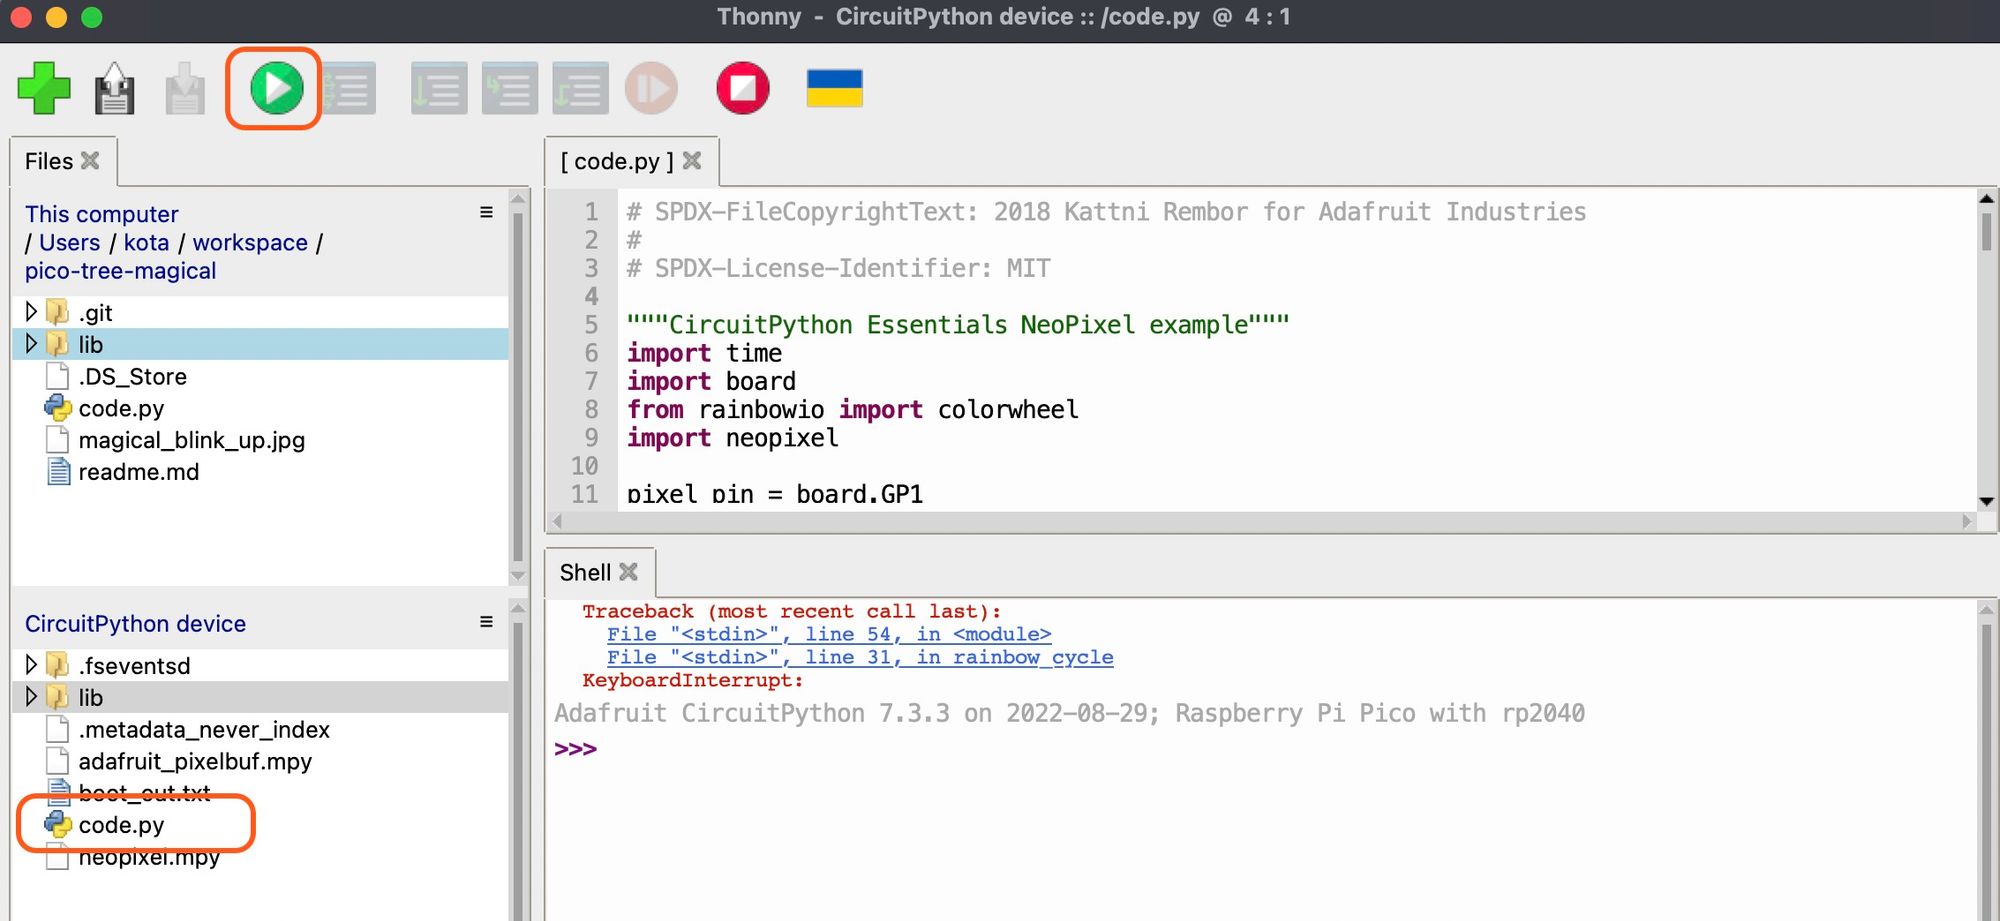
Double click "code.py" to open the file, once you open the file hit the green button on the top to run the program.
Stop the program
When the program is running on your Raspberry Pi Pico, they are not able to read/write files. Press the Red button first, then open or replace files.
Change the code
I included a bit differnt light up version code named "soft.py".
Copy the contents of soft.py and paste it to "code.py", press save then press the green button.
Tweak the code with CircuitPython neopixel.
please refer this website when you want to know more details, they are really well documented. enjoy the coding!!
 Kattni Rembor
Help needed?
If you need some help for Magical PCB, please contact me @kotaMorishita

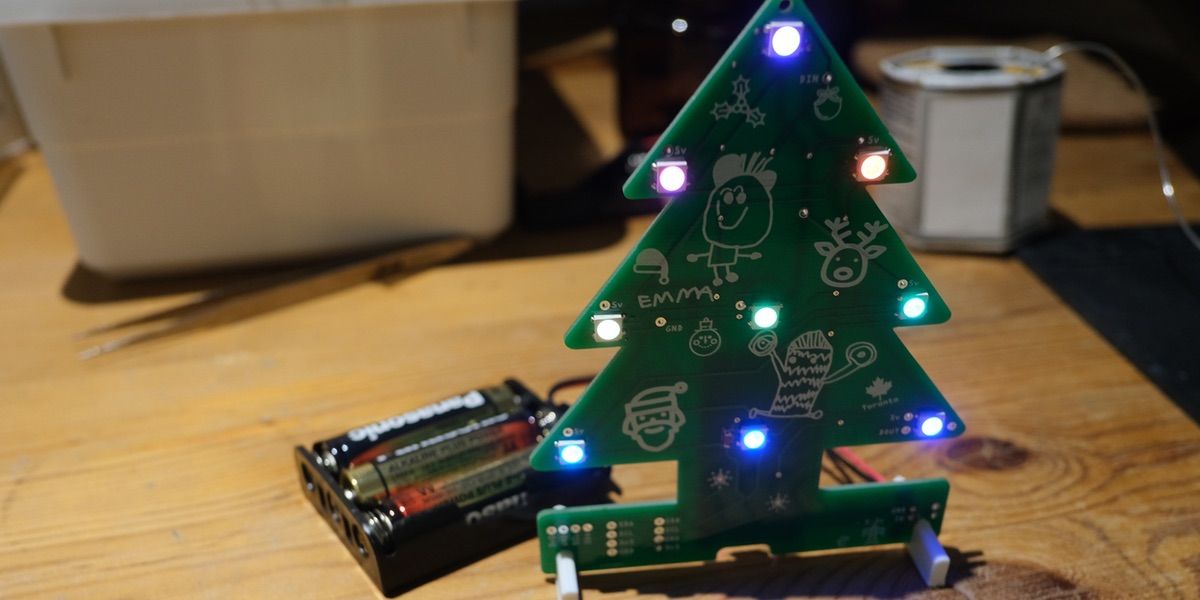
Optional : Battery Powered Tree
You can light up the tree with battery power.
⚠ DO NOT connect USB and battery at the same time. It may break your computer or tree!!
Connect red wire to +(Positive) side, black to the -(Negative) side.